10 Easy DIY Halloween Decorations to Make with Kids

10 Easy DIY Halloween Decorations to Make with Kids

Halloween is just around the corner! This year, why not turn your home into a spooky little hideaway filled with ghosts, pumpkins, and fun Halloween creatures using homemade decorations?

You don’t need to spend a fortune to create a festive atmosphere! With a few materials you probably already have at home, a little imagination, and some help from your kids, you can make amazing Halloween decorations.

Discover 10 easy, fun, and budget-friendly Halloween crafts to make as a family. It’s the perfect way to encourage your children’s creativity while spending quality time together!

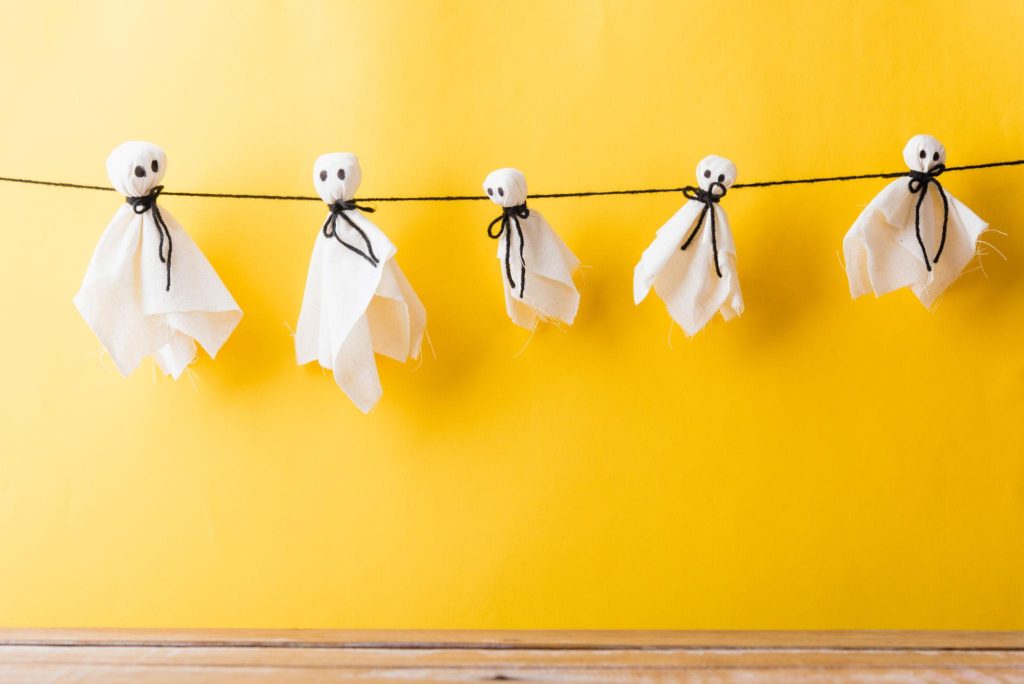
Hanging Tissue Ghosts

These adorable little ghosts are perfect for decorating windows, door handles, or even tree branches. They’re so easy to make that even younger children can join in!

Materials needed:

  • White tissues
  • Cotton balls
  • White string
  • Black marker
  1. Place a cotton ball in the center of a tissue.

  2. Wrap the tissue around the cotton ball to form the ghost’s head.

  3. Tie a piece of string just below the head to hold everything in place.

  4. Draw two eyes and a mouth using the black marker.

  5. Hang your ghosts around the house!


Fun tip: Give each ghost a different facial expression to create a family of funny characters instead of scary ones.

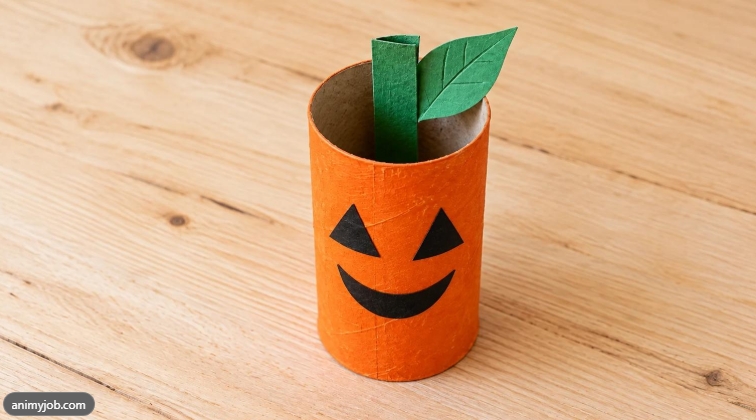
Toilet Paper Roll Pumpkins

Before throwing away your empty toilet paper rolls, turn them into adorable little pumpkins! This creative recycling activity costs almost nothing.

Materials needed:

  • Empty toilet paper rolls
  • Orange paint
  • Green construction paper
  • Black marker
  • Glue
  1. Paint the toilet paper rolls orange and let them dry.

  2. Draw pumpkin faces using the black marker.

  3. Cut small leaves and stems out of green paper.

  4. Glue them to the top of each roll.

  5. Display your pumpkins on a shelf or windowsill.


Fun tip: Add a small LED light nearby to create a warm and cozy Halloween atmosphere in the evening.

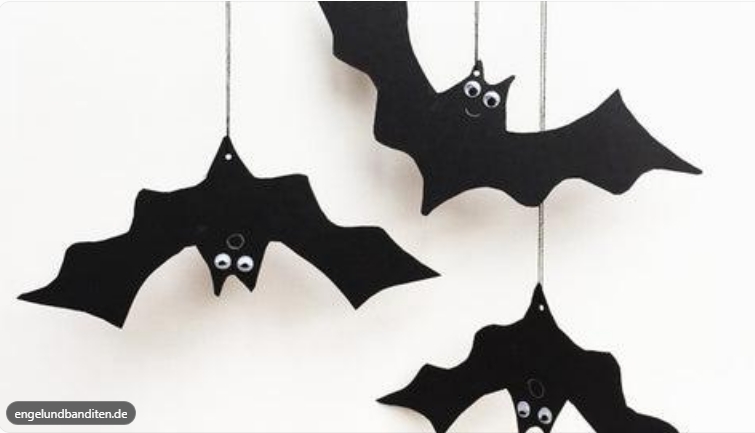
Black Construction Paper Bats

These bats are perfect for quickly transforming an ordinary wall into a Halloween masterpiece. Make several in different sizes for an even more impressive effect!

Materials needed:

  • Black construction paper
  • Scissors
  • Self-adhesive googly eyes
  • Tape
  • White pencil
  1. Draw a bat silhouette on black construction paper.

  2. Carefully cut out the shape.

  3. Stick two googly eyes onto the bat’s head.

  4. Slightly fold the wings to create a three-dimensional effect.

  5. Attach the bats to a wall using tape that’s safe for the surface.


Fun tip: Arrange several bats diagonally across a wall to make it look like they’re flying away!

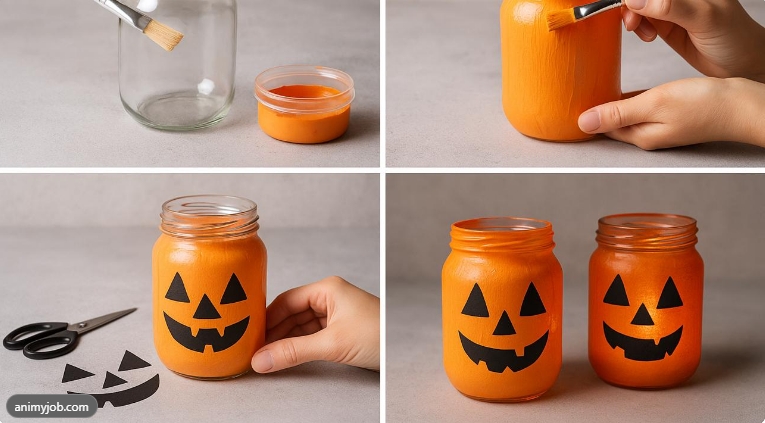
Halloween Lanterns Made from Recycled Jars

Transform old glass jars into glowing Halloween lanterns to decorate your entrance or living room. They look especially beautiful when the sun goes down!

Materials needed:

  • Clean glass jars
  • Translucent orange paint
  • Black construction paper
  • Glue
  • Battery-operated LED tea lights
  1. Clean and dry the jars.

  2. Apply a thin coat of orange paint and let it dry.

  3. Cut out eyes, noses, and mouths from black construction paper.

  4. Glue the shapes onto the jars to create pumpkin faces.

  5. Place an LED tea light inside each jar.


Fun tip: Always use LED candles instead of real flames to keep your decorations safe around children.

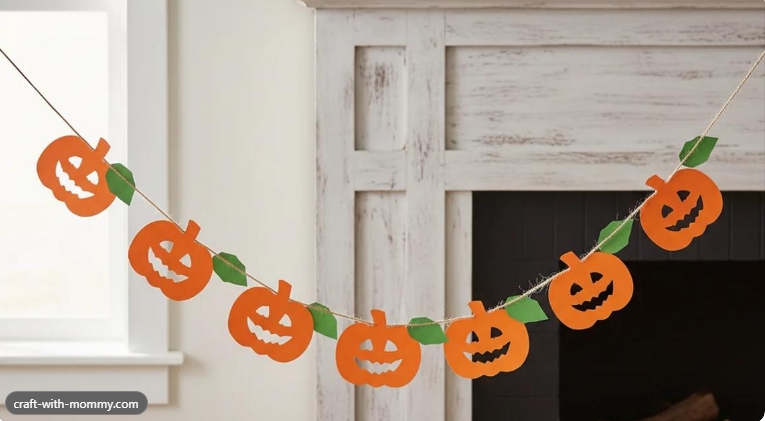
Paper Pumpkin Garland

A colourful garland is a quick and inexpensive way to add a festive Halloween touch to any room.

Materials needed:

  • Orange and green construction paper
  • Scissors
  • Glue
  • String
  • Hole punch
  1. Draw several pumpkin shapes on orange paper.

  2. Cut them out and add a small green stem to each one.

  3. Decorate the pumpkins with different facial expressions.

  4. Punch two small holes near the top of each pumpkin.

  5. Thread a piece of string through the holes to create a garland.

  6. Hang it above a window or doorway.


Fun tip: Alternate pumpkins with white ghosts and black bats for an even more festive Halloween garland.

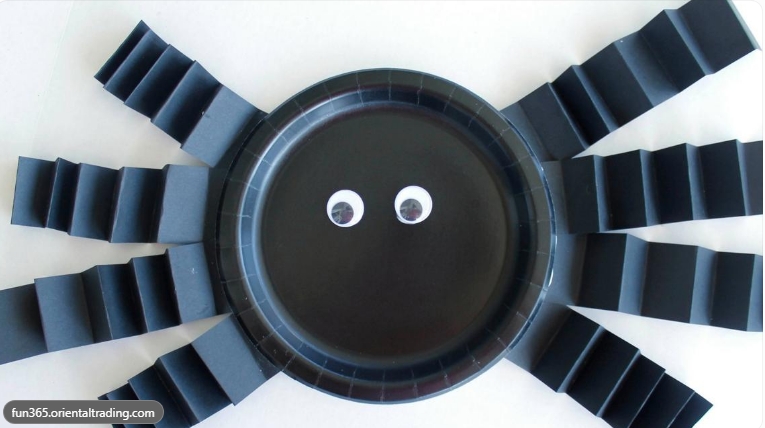
Paper Plate Spiders

These silly spiders are perfect for kids who enjoy getting creative. They can be hung from the ceiling or attached to walls.

Materials needed:

  • Paper plates
  • Black paint
  • Black construction paper
  • Googly eyes
  • Glue
  • String
  1. Paint a paper plate black and let it dry.

  2. Cut eight strips of black construction paper for the spider’s legs.

  3. Fold each strip accordion-style to give the legs some dimension.

  4. Glue four legs to each side of the plate.

  5. Add two large googly eyes.

  6. Attach a piece of string to the back to hang your spider.


Fun tip: Make spiders in different colours for a more playful and less spooky decoration.

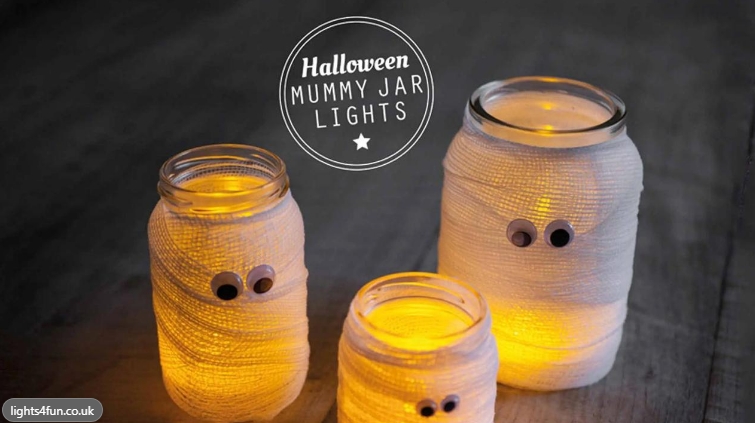
Mummy Jars

Here’s another creative way to reuse glass jars! These glowing little mummies make adorable decorations for a table or windowsill.

Materials needed:

  • Empty glass jars
  • White gauze strips
  • Googly eyes
  • Glue
  • LED tea lights
  1. Clean and dry the jars.

  2. Apply a little glue to the outside.

  3. Wrap the gauze strips around the jars, leaving small gaps.

  4. Glue two googly eyes onto each jar.

  5. Place an LED tea light inside to make your mummies glow.


Fun tip: Leave a few gauze strips hanging loose to make it look like the mummies are starting to unravel!

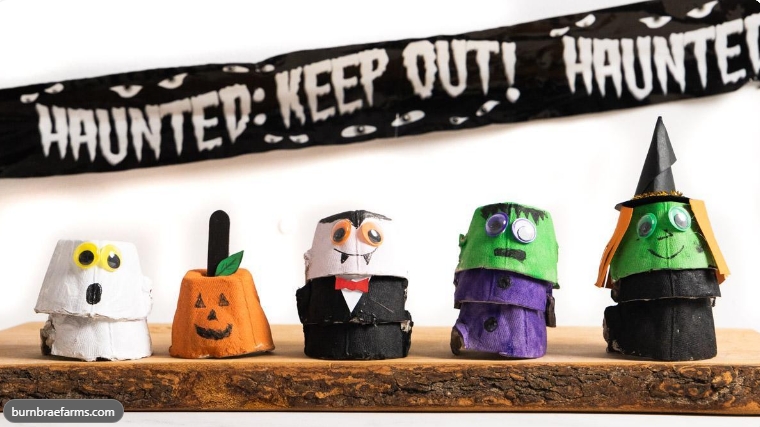
Egg Carton Monsters

Egg cartons are perfect for creating all kinds of little Halloween characters. Ghosts, monsters, pumpkins, or vampires: the possibilities are endless!

Materials needed:

  • A clean cardboard egg carton
  • Green, orange, white, and purple paint
  • Googly eyes
  • Coloured construction paper
  • Glue
  • Markers
  1. Have an adult cut apart the individual sections of the egg carton.

  2. Paint each section a different colour.

  3. Let everything dry completely.

  4. Glue googly eyes onto your characters.

  5. Cut small teeth, ears, or horns from construction paper.

  6. Add details with markers to bring your monsters to life.


Fun tip: Organize a little contest to see who can create the funniest or most original monster!

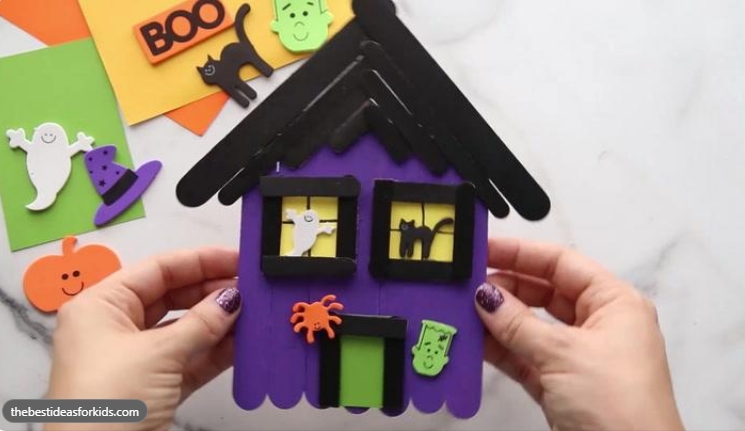
Popsicle Stick Haunted House

A miniature haunted house is a great project for children who love building things and making up stories.

Materials needed:

  • Wooden craft sticks
  • White glue
  • Black or purple paint
  • Yellow, black, and orange construction paper
  • Markers
  • Scissors
  1. Line up six wooden craft sticks side by side.

  2. Glue two additional sticks horizontally across the back to hold them together.

  3. Add two sticks in a triangle shape to create the roof.

  4. Let everything dry, then paint the house.

  5. Cut out yellow windows and a door from construction paper.

  6. Glue the windows and door onto the house, then add little paper ghosts or spiders.


Fun tip: Make several houses to create your very own miniature haunted village!

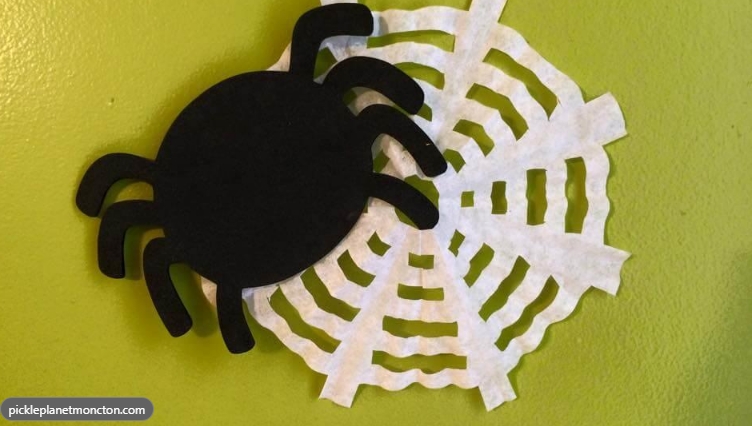
Coffee Filter Spiderwebs

To finish, here’s an incredibly simple decoration that requires very few materials. Paper spiderwebs are perfect for decorating windows on a budget!

Materials needed:

  • White coffee filters
  • Scissors
  • Black construction paper
  • Tape
  1. Flatten a coffee filter.

  2. Fold it in half, then fold it again two or three more times.

  3. Cut small triangles and semicircles along the folded edges without cutting all the way through.

  4. Carefully unfold the filter to reveal your spiderweb.

  5. Cut a small spider shape from black construction paper.

  6. Attach everything to a window using tape.


Fun tip: Use coffee filters in different sizes to create a collection of unique spiderwebs.

A Creative Halloween Without Breaking the Bank!

With a little cardboard, some paint, recycled materials, and plenty of imagination, you can make unique decorations while creating wonderful memories with your children.

For younger children, choose age-appropriate scissors and have an adult help cut tougher materials. Keep small craft accessories out of reach of toddlers.

Happy Halloween and happy crafting! 🎃