14 May Build your own planter with a wooden pallet
Finally, spring is around the corner! With the weather getting warmer and the grass getting greener, we definitely want to spend all of our time outside. Enjoy the weather by adding plants and flowers to embellish your yard, patio or balcony. For sure, they will add a touch of cheerfulness and elegance. Why not take the opportunity to build your own wooden planter? In addition to being personalized, the construction will be unique since you can plant your favorite flowers. How can you do it? Follow these 7 simple steps! Have fun with your DIY!
Required Material:
Using a wooden pallet makes it easier to build the planter. With only a few tools and minimal skills, you can easily assemble your planter. You will need:
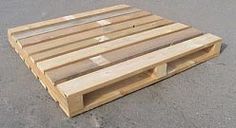
- A wooden pallet
- A hammer and a small mass (to pull the nails)
- Cutting pliers
- A jigsaw
- Screws
- A screwdriver
- A tarpaulin
- A stapler
- Soil, at your choice
- Seeds or plants of your choice
Step 1: Undo the Pallet
Start by removing the pallet using the hammer and the small mass. Then, remove the nails with the pliers. Put the boards aside.
Step 2: Saw the Boards
With a jigsaw, cut 9 planks 60 cm long (3 of which are used for the bottom) and 3 others of 35 cm. Then, recover blocks of wood from the pallet to make legs under the planter and cut cleats.
Step 3: Dye or Paint the Wood
Before putting everything together, dye or paint each plank with the color of your choice. You can also leave the planks as they are to preserve the natural effect of wood.
Step 4: Build the Bottom
Assemble the bottom by screwing 2 feet under a 60 cm board and two other feet under another board. The third board is held by a cleat.
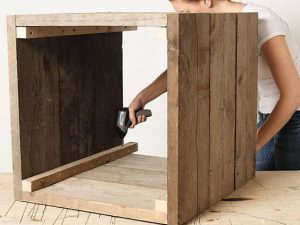
Step 5: Assemble the Planter
The 4 sides of the planter with the remaining planks providing cleats to secure the sides with the bottom. Vertical cleats will also be required at the four corners to secure the sides to each other.
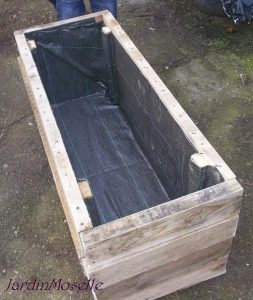
Step 6: Add a Tarpaulin
Install a geotextile tarpaulin in the box (you can buy these in gardening departments) and staple it to the sides.
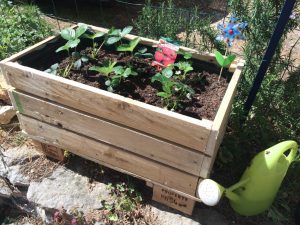
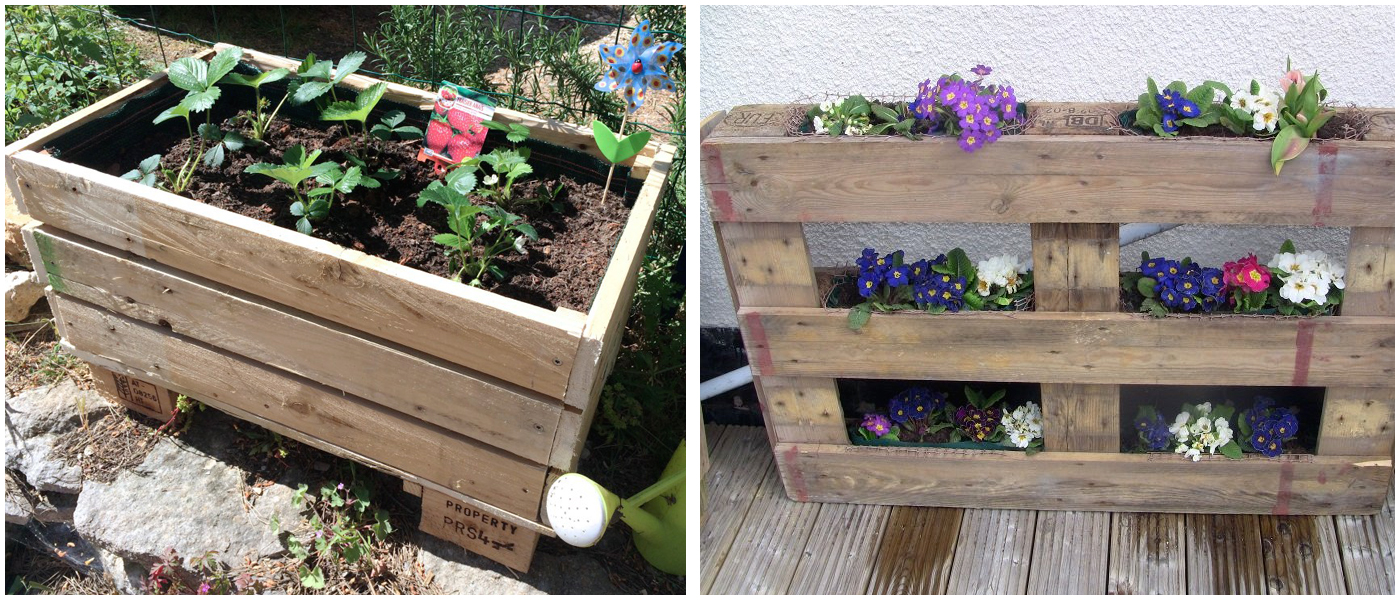
Step 7: Planter
Now that your planter is finished, add the soil and plant all the desired plants.
All you have to do is enjoy a lemonade while admiring your plants…and your beautiful work!